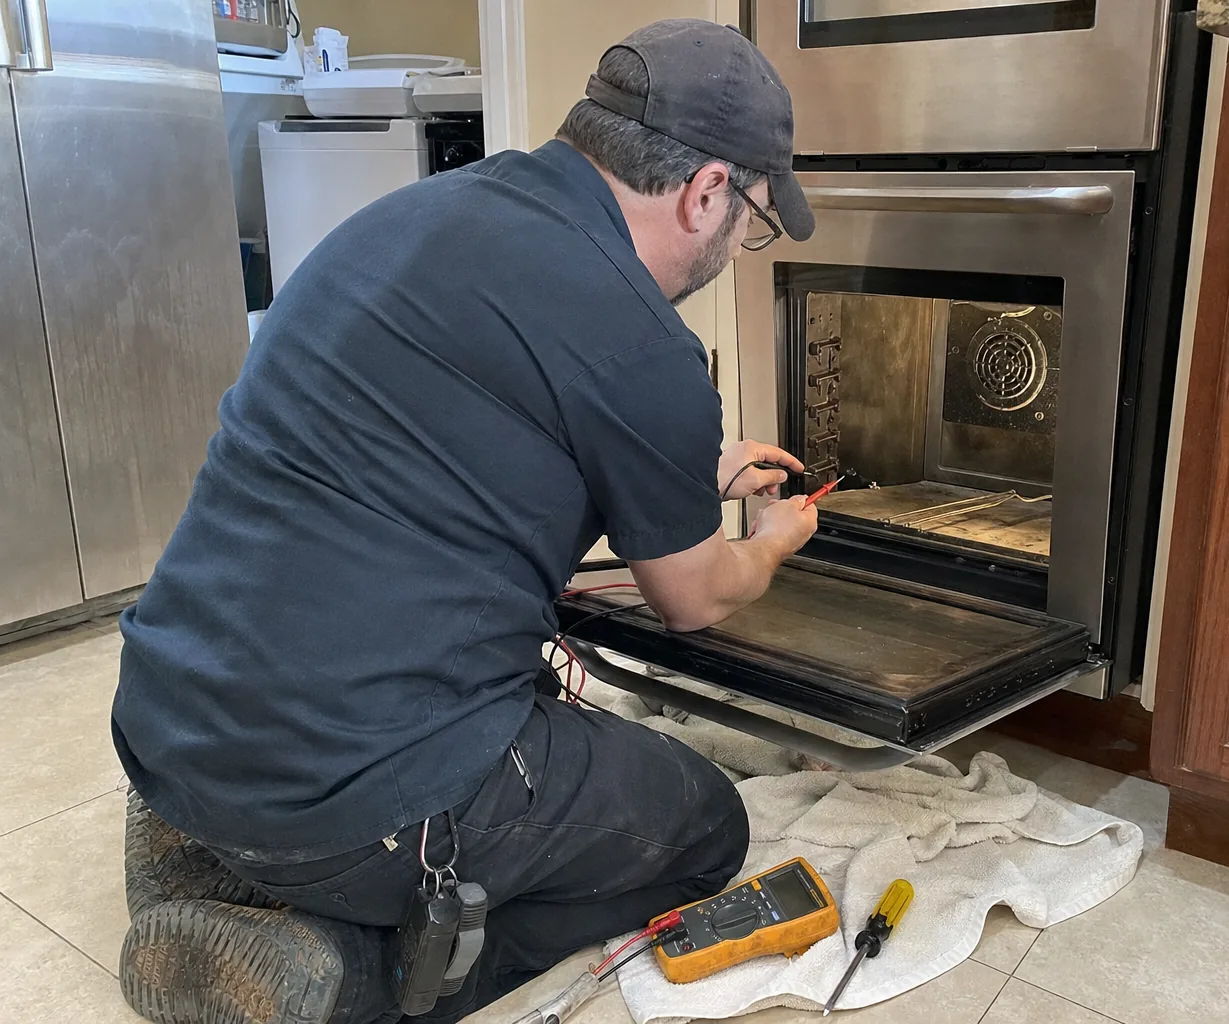
Calibrating oven temp is really two jobs: proving how far off the oven runs, then telling the control how much to correct. On a Thermador oven with a display, the correction lives in the basic settings menu as a temperature offset that accepts anything from -35°F to +35°F. On Professional range ovens that have knobs and no screen, a short breaker-and-knob routine shifts the oven by as much as 50°F either way. Neither one repairs a failing part, so the measuring step deserves as much care as the adjustment.
Check your thermometer before you trust it
Every reading you take is only as honest as the instrument. Most homes in Northeast Florida sit close enough to sea level that a pot of water at a full rolling boil should read about 212°F. Dip a digital probe thermometer in it. If it shows 208°F, the probe reads 4 degrees low, and you add 4 to everything it tells you inside the oven. A dial thermometer that cannot go in water can be checked side by side against a probe you have already tested.
Measure the oven over a full cycle
Thermador warns owners not to judge the oven by a household oven thermometer, because those gauges swing while the heat cycles. One glance at a dial is a hint, never a verdict.
A fairer test: place the tested probe on the middle rack, choose BAKE at 350°F, and give the oven a good 20 minutes after it reports that preheating is done. Then note the reading every two or three minutes for half an hour. Any oven climbs past its set point, shuts off, coasts down and fires again, so expect the numbers to wander. Average them. A small swing around 350 is normal behavior and needs no correction; an average that sits well above or below it is the figure you calibrate against.
Setting the offset on an oven with a display
Display models keep the offset in the basic settings. If your averaged readings show the oven running 15 degrees cool, enter +15; if it runs 10 hot, enter -10. Change it once, then repeat the whole measuring routine before touching it again, because a second tweak built on a rushed reading only stacks the error. Menu wording differs between Masterpiece and Professional controls, so keep the use and care guide for your exact model nearby.
Knob-only Professional ranges: the breaker routine
Range ovens without a display have no menu to open, so Thermador uses a power-up sequence instead:
- Shut the range off at the circuit breaker, leave it off for at least 20 seconds, then switch it back on.
- Open the oven door.
- Turn the mode knob to BROIL.
- Turn the temperature knob to the correction you want: the 225 mark equals -50°F and the 475 mark equals +50°F, with the settings between them giving smaller shifts.
- Close the door and return the mode knob to OFF.
Run the thermometer test again afterward to confirm the change took.
When calibration is the wrong fix
An offset slides the whole temperature curve up or down; it cannot cure a component that is wearing out. Look past calibration if the error is bigger than the offset can reach, if it changes from one test to the next, or if preheating now takes far longer than it used to. Pale cakes on one shelf and scorched edges on another point toward a bake or broil element or the convection fan. On a gas range oven, a long pause before the flame catches suggests a weak igniter. A temperature sensor that has drifted will fool every offset you try.
If an “E” with a number appears and the oven beeps, press TIMERS or any key to quiet it and reset the oven if needed. A code that keeps returning needs a proper diagnosis rather than another adjustment.
What a repair usually involves
Our technicians start with an $80 diagnostic, measuring the sensor and heating parts directly. As a typical range, a thermostat or temperature sensor repair runs $170–$550, a bake or broil element $200–$540, and an igniter $190–$500; you get the firm figure once the fault is confirmed. For details by oven type, see our wall oven repair and professional range repair pages.